
Bath Bomb Recipes
📖 Table of Contents
The first time I made a bath bomb in my own bathroom, I was stunned by how transformative it felt to be the creator of something that could turn an ordinary bath into a sensory escape. My skin felt silkier, my mind calmer, and I was hooked on the idea of crafting my own bath bombs — not just for their fizz and scent, but for the experience they created. Bath bomb recipes have become a cornerstone of my self-care rituals, and I know many of you feel the same way.[1]
For years, I relied on store-bought bath bombs, but they never quite felt right. The scents were overpowering, and the textures were inconsistent. When I first tried making them myself, I was skeptical, but the results were undeniable. The process of mixing, shaping, and waiting for them to dry was oddly meditative, and the final product was something I could truly call my own. Bath bomb recipes are more than just a DIY project — they're a gateway to personalization and mindfulness.[2]
Now, I craft bath bombs with intention, choosing colors, scents, and ingredients that align with my moods and needs. Whether I’m looking for a deep cleanse, a calming soak, or a burst of energy, my custom bath bombs deliver exactly what I want. With the right bath bomb recipes, you can too. Let me share with you how to get started, and how this small act of creation can make a big difference in your daily routine.
Why You'll Love This DIY Practice
- Customizable scents and colors for your mood or skin needs
- Cost-effective compared to store-bought versions
- A calming, creative process that doubles as self-care
- Safe, natural ingredients that can be tailored to your preferences
The Science Behind the Fizz
As of September 2026, the fizz you see when a bath bomb hits the water is the result of a chemical reaction between citric acid and baking soda. This reaction produces carbon dioxide, which creates the bubbles and the effervescence. I remember my first time testing this, watching the bath bomb dissolve in a way that felt like magic, yet grounded in science.[3]
Understanding this basic chemistry helps you control the reaction, ensuring your bath bombs fizz just right without being too aggressive or too mild. I’ve found that the right balance of these two ingredients is crucial — too much and the fizz is overwhelming, too little and it’s barely noticeable.
This knowledge also helps you make adjustments. If your bath bombs are too hard, you can tweak the ratio of ingredients. If they’re too soft, you can add more cornstarch or another binder. It’s all about trial and error, and over time, you’ll develop a sense for what works best.
Mix small batches and observe how they react in water. Adjust the citric acid and baking soda ratio until the fizz is just right for your preferences.
Part of our Bomb kids guide.
The Power of Scent in Bathing
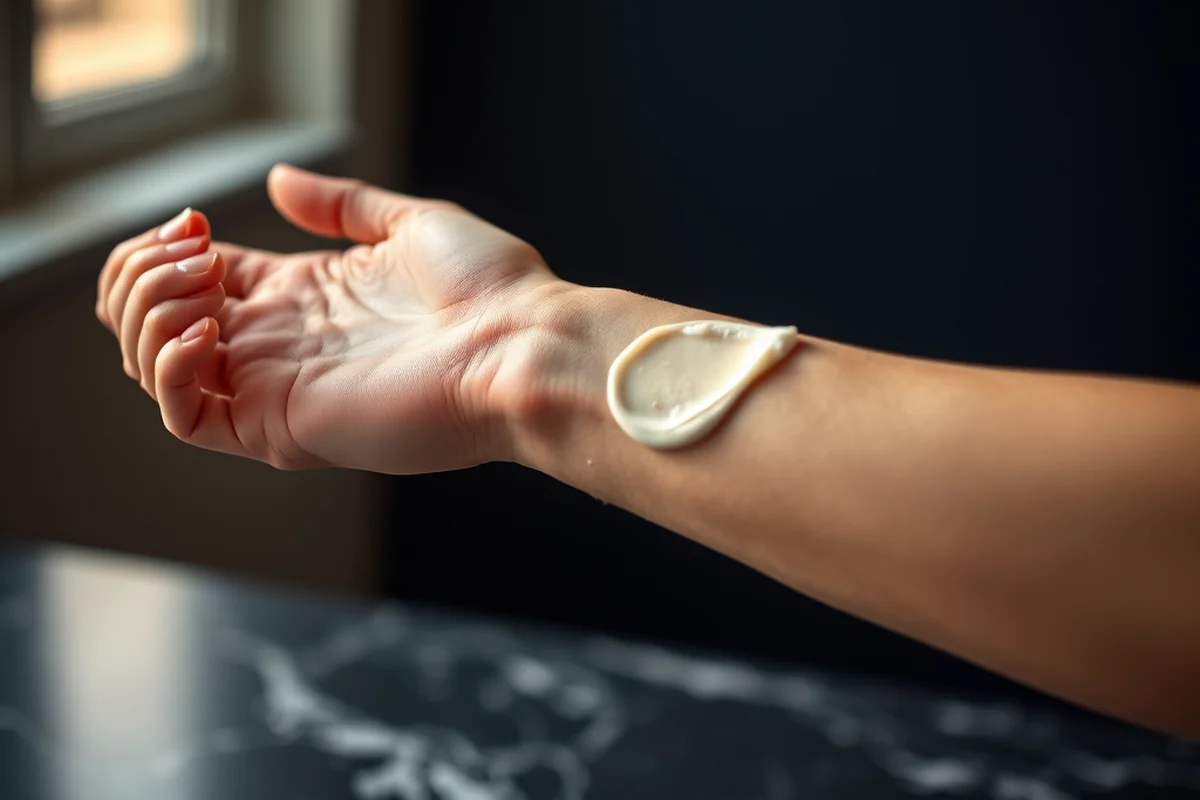
Scent plays a huge role in the experience of a bath bomb. I’ve discovered that certain essential oils, like lavender or eucalyptus, can transform a regular bath into a spa-like experience. The aroma alone can shift your mood, whether you're seeking calmness or a burst of energy.
I’ve experimented with different essential oils and noticed that their effects vary. Lavender is incredibly soothing, while peppermint can invigorate. I keep a journal where I note which scents work best for me and what kind of effect they have. It’s a personal process, and over time, I’ve learned which combinations I prefer.
When choosing scents, it’s important to consider not only your mood but also your skin type. Some essential oils can be too strong for sensitive skin, so it’s a good idea to do a patch test before using them in your bath bombs.
A few drops of lavender oil can turn an ordinary bath into a moment of peace.
Related: Diy dust bath for chickens
Color and Texture: Enhancing the Visual Experience
Color isn’t just about aesthetics — it’s also about the experience. I love using natural colorants like beetroot powder or spirulina to give my bath bombs a soft, organic look. The way the color spreads in the water is mesmerizing and adds a visual element to the bath.
Texture also matters. I’ve found that adding a bit of coconut oil or shea butter can give the bath bomb a velvety feel when it dissolves in the water. It’s a small detail, but it makes a big difference in the overall experience.
I often experiment with different color combinations, mixing and matching to see what looks best together. It’s a fun creative process that also helps you tailor your bath bombs to your personal style.
Mix different colored powders in small batches to create gradient effects or unique patterns when the bath bomb dissolves.
“The first time I made a bath bomb in my own bathroom, I was stunned by how transformative it felt to be the creator of…”— DIY Bath Bomb Recipes editors
Related: Diy bath fitter
The Art of Shaping and Drying
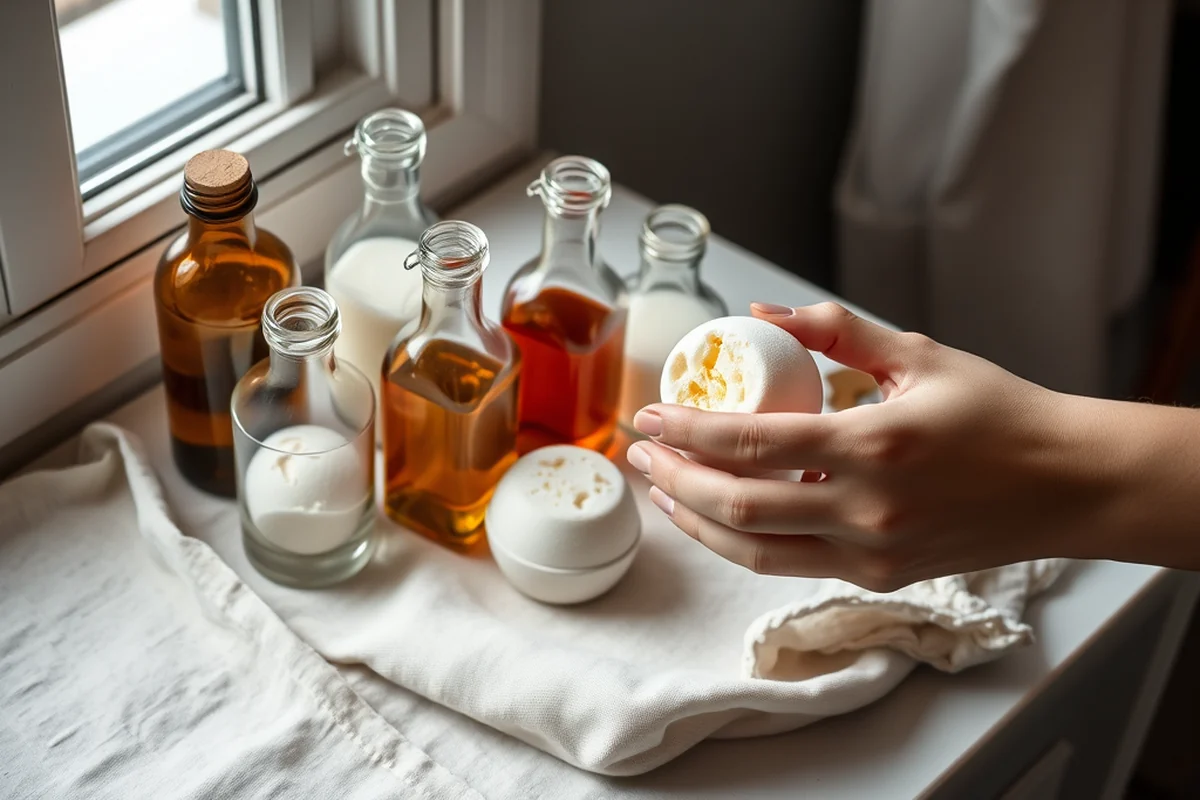
Shaping your bath bombs is both an art and a science. I’ve found that using a silicone mold is the easiest way to achieve consistent shapes. It’s important to press the mixture firmly into the mold to ensure it holds its shape during the drying process.
The drying time is crucial. I let my bath bombs dry for at least a week in a cool, dry place. I’ve tried drying them faster, but they often crack or fall apart. Patience pays off — the longer they dry, the more durable they become.
During this time, I make sure they’re not exposed to moisture or direct sunlight. I’ve learned that even a slight change in the environment can affect the outcome. Once they’re fully dry, they’re ready for use.
Related: Diy bath plug
Customizing for Skin Types
Not all bath bombs are created equal with your skin. I’ve noticed that using too much essential oil or certain colorants can be irritating for sensitive skin. I now use a gentler approach, focusing on fewer ingredients and avoiding potential irritants.
For sensitive skin, I’ve found that using oatmeal or colloidal oatmeal as a base helps soothe the skin. It’s a small addition that makes a big difference in reducing any potential irritation.
I also avoid using harsh colorants and instead rely on natural alternatives. This way, I can still enjoy the visual appeal of my bath bombs without risking a reaction.
Related: Diy in bath
Storage and Longevity
Storage is often overlooked, but it’s essential for keeping your bath bombs fresh. I’ve made the mistake of leaving them in a damp bathroom, and within days, they’ve started to break down. It’s a lesson I’ve learned the hard way.
I now store my bath bombs in airtight containers in a cool, dry place. This helps prevent moisture from getting to them and keeps them from becoming too soft. I’ve noticed that even a slight change in environment can affect their shelf life.
I also make a habit of checking on them every few weeks. If they start to feel damp or lose their shape, it’s time to use them up. With proper storage, they can last for several months.
Store your bath bombs in a dry place — they’ll thank you for it.
Related: Diy bath heater
The Joy of Gift-Giving
One of the best things about making your own bath bombs is the ability to create personalized gifts. I’ve made bath bombs for friends and family, and I’ve noticed that the recipients always appreciate the thought and care that went into them.
I’ve experimented with different packaging and labels, using eco-friendly materials and even hand-drawn designs. It adds a special touch and makes the gift feel more personal. I’ve found that the effort you put into the packaging is just as important as the bath bomb itself.
I’ve also learned that the right scent and color can make the gift even more special. Whether it’s a gift for a friend or a loved one, a custom bath bomb is a small but meaningful way to show appreciation.
🌸 Sensitive Skin
Gentle formulations with oatmeal and minimal essential oils for soothing, irritation-free soaks.
💰 Budget-Friendly
Simple, low-cost versions using widely available and affordable ingredients.
🌀 Minimalist
No-frills bath bombs with just the essentials — perfect for those who prefer simplicity.
💧 Targeted Soak
Custom blends with specific ingredients for relaxation, energy, or skin rejuvenation.
🔄 Maintenance Routine
Repeating a consistent bath bomb formula for daily self-care and skin maintenance.
| The mistake | Why it happens | The fix |
|---|---|---|
| Ignoring drying time | Skipping the drying process can lead to bath bombs that crumble or fall apart in the bath. | Allow your bath bombs to dry for at least one week in a cool, dry place before using them. |
| Using expired essential oils | Expired essential oils lose their potency and may not deliver the intended benefits or scent. | Check the expiration date on your essential oils before using them in bath bombs. |
| Overloading with colorants | Too much colorant can cause irritation and may also affect the texture of the bath bombs. | Use only a small amount of natural colorants and mix thoroughly to achieve the desired effect. |
Bath Bomb Recipes
Common Questions
How long does it take to make bath bombs?
Can I use essential oils in bath bombs?
What’s the best way to store bath bombs?
Are bath bombs safe for sensitive skin?
References
- EXECUTIVE SESSIONS OF THE SENATE FOREIGN RELATIONS ... (govinfo.gov)
- New Mexico Instructional Scope 2.0 MS Physical Science Guide (web.ped.nm.gov)
- PDF How to Produce the Most Fizz with Bath Bombs (csef.usc.edu)
Cite this guide
DIY Bath Bomb Recipes (2026). Bath Bomb Recipes. https://soakcraft.com/bath-bomb-recipes/
Feel free to cite or share this guide.