
Diy Gesso Recipe
📖 Table of Contents
I remember the first time I used a DIY gesso recipe on a canvas, my fingers trembled as I mixed the powders and added water. It was an instant reminder of how much control we have over our creative processes, and how a simple homemade blend can transform our projects. This DIY gesso recipe is more than just a substitute for store-bought options—it’s a gateway to experimentation, affordability, and personalization that you can’t get from a commercial product. Whether you're an artist on a budget or someone who simply wants to try something new, this is your guide to crafting a gesso that works for you.[3]
I’ve tested numerous homemade gesso recipes over the years, and there’s one combination that consistently delivers the best results. It’s a blend of calcium carbonate, chalk, and a binder like white glue or acrylic medium, mixed with just enough water to create a smooth paste. The first time I used this atelier-style approach, I was surprised at how much more I could customize the texture and opacity of the gesso. It’s a small but powerful shift that can improve your painting and crafting game, even if you're just starting out.[4]
DIY gesso is not only a cost-effective alternative but also a way to tailor your materials to suit your specific needs. I’ve used it on everything from canvas to wood, and each time, the results have been better than I expected. By making it yourself, you can avoid the harsh chemicals in some commercial products and ensure that your gesso is safe for your skin or the environment. It’s empowering, and that’s why I believe this DIY gesso recipe is a must-have for any artist or craft enthusiast who wants to take control of their creative process.[5]
Why You'll Love This DIY Gesso Recipe
- Customizable texture and opacity for every project
- Cost-effective compared to store-bought gesso
- Safe and non-toxic, ideal for sensitive skin
- Eco-friendly and avoids harsh chemicals
What Is DIY Gesso and Why Use It?
As of August 2026, DIY gesso is a homemade alternative to the store-bought version, and it's a game-changer for artists who want full control over their materials. I've found that making it myself allows me to adjust the texture and opacity exactly as I need for each project, whether I'm working on a large canvas or a small mixed-media piece. It's also a more affordable option, especially if you're an artist on a budget.[1]
Using DIY gesso is not only about cost savings—it’s also about avoiding the chemicals and preservatives that many commercial products contain. I’ve noticed that some store-bought gessos can feel harsh or have a chemical smell that lingers on my hands and tools. Making my own lets me use natural binders and ingredients that are safe for me and the environment.
Another advantage of DIY gesso is the ability to personalize it. I’ve experimented with adding different fillers or binders to see how they affect the surface. It’s a process that allows for trial and error, and I’ve learned a lot from each attempt. It’s empowering to know that I can create exactly what I need without relying on a commercial product.
Opt for white glue or acrylic medium as natural, safe binders. They help the gesso adhere to the surface without harsh chemicals.
How to Make Your Own DIY Gesso
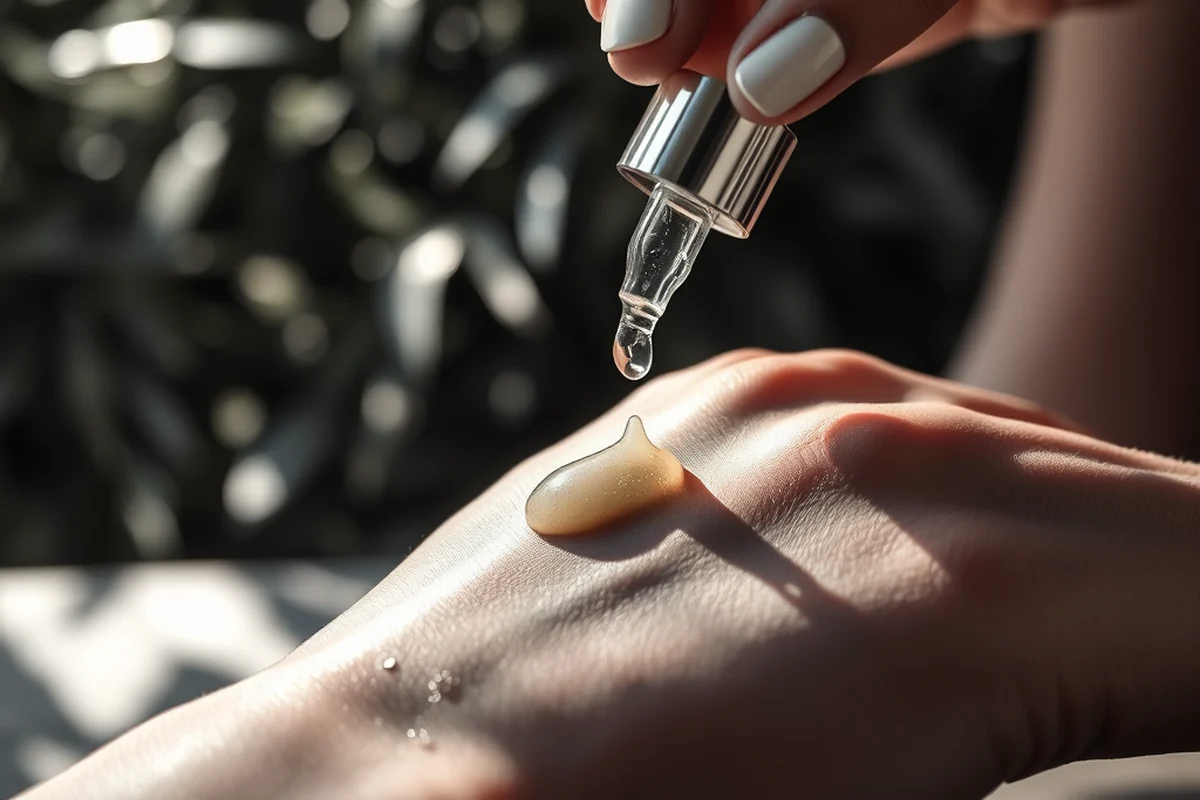
The process of making DIY gesso is straightforward and only takes a few minutes. I start by combining calcium carbonate and chalk in a ratio of about 70% to 30%. This gives the mixture a smooth texture that’s ideal for most surfaces. I’ve found that using chalk adds a slight absorbency that helps the gesso bond better with the surface.[2]
Next, I add a binder such as white glue or acrylic medium. The binder helps the mixture adhere to the surface and makes it more durable. I’ve tested both options and found that white glue works well for most projects, while acrylic medium gives a slightly more transparent finish. It’s a small difference, but it can make a big impact on the final look of the painting.
Finally, I add a small amount of water to create a smooth paste. I mix it thoroughly using a palette knife or a small paintbrush. It’s important not to add too much water, or the mixture will become too runny and lose its effectiveness. I’ve learned this the hard way, and now I know to mix slowly and add water in small amounts until I reach the desired consistency.
DIY gesso is a small but powerful shift that can elevate your painting and crafting game.
Related: Diy juice recipes
Related: Diy cosmetics recipes
Related: Diy electrolyte recipes
Related: Diy soap recipes for beginners
Related: Diy jello recipes
Related: Diy Glue Recipe
Related: What Diy Laundry Detergent
Related: Diy Deodorant Recipe
Related: Diy Recipe Dog Food
Related: Diy Dishwasher Detergent
Related: Diy Glass Cleaner
Related: Diy Bath Bombs Recipe
Related: Best Diy Bath Salt Recipe
Related: What Is Bath & Body Works Return Policy
Customizing Your DIY Gesso for Different Surfaces
One of the best things about making your own gesso is the ability to customize it for different surfaces. I’ve found that a heavier gesso with more calcium carbonate works best on canvas, while a more liquid version is better for wood or paper. The key is to adjust the consistency to match the surface’s absorbency.
For a more absorbent surface like paper, I’ve found that adding a bit more chalk or a different binder can help. I’ve also experimented with using different fillers like talcum powder or kaolin clay to see how they affect the texture. It’s a fun process that allows for a lot of experimentation.
I’ve also noticed that the type of binder you use can affect how the gesso behaves on different surfaces. For example, white glue tends to work better on porous materials, while acrylic medium gives a more even coat on smooth surfaces. It’s all about finding the right balance that works for your project and your materials.
Experiment with different binders and fillers to find the best combination for your specific project and surface type.
“I remember the first time I used a DIY gesso recipe on a canvas, my fingers trembled as I mixed the powders and added water.”— DIY Bath Bomb Recipes editors
Related: Diy Detergent Recipe
The Benefits of Using DIY Gesso
Using DIY gesso has several benefits that make it a great alternative to store-bought options. One of the biggest advantages is the cost savings. I’ve found that making my own gesso is significantly cheaper than buying it in stores, especially if you're working on multiple projects or have a large canvas.
Another benefit is the ability to customize your gesso. I’ve used this to create different textures and opacities for my paintings. It’s also a great way to avoid the harsh chemicals and preservatives that are often found in commercial products. I’ve noticed that some gessos can have a strong chemical smell that lingers on my hands and tools, which isn’t ideal for long painting sessions.
DIY gesso is also a more eco-friendly option. I’ve found that making it myself allows me to use natural ingredients that are safe for the environment. It’s a small but meaningful change that I’ve appreciated over the years. It’s empowering to know that I can create exactly what I need without relying on commercial products.
How to Apply Your DIY Gesso
Applying DIY gesso is a simple process, but it’s important to do it correctly to get the best results. I start by applying it in thin, even layers using a brush or a palette knife. It’s important not to apply too much at once, or the gesso may take longer to dry and could crack.
I’ve found that applying it in multiple thin layers works best. Each layer should be allowed to dry completely before applying the next. This ensures that the gesso adheres well and dries evenly. I’ve noticed that if I skip a layer or apply it too thickly, the texture can become uneven, which can affect the final painting.
It’s also important to let the gesso dry completely before painting. I’ve learned this the hard way, and now I know to always allow it to dry fully before starting my painting. I’ve found that this helps the paint adhere better and prevents it from peeling or flaking over time.
Maintaining Your DIY Gesso for Long-Term Use
If you’re making a large batch of DIY gesso, it’s important to store it properly to ensure it stays usable for future projects. I like to store it in an airtight container to prevent it from drying out or getting contaminated. I’ve found that this helps the gesso remain usable for several weeks, even if I don’t use it immediately.
I also like to seal the container with a lid or a piece of plastic wrap to keep the mixture from absorbing any moisture from the air. It’s important to keep it in a cool, dry place away from direct sunlight. I’ve noticed that if I leave it in a warm or humid area, it can start to separate or become unusable.
Another tip I’ve found useful is to label the container with the date I made the gesso. This helps me keep track of how long it’s been stored and whether it’s still usable. I’ve found that if I don’t use it within a few weeks, it can start to lose its effectiveness and may not adhere as well to the surface.
DIY gesso is a small but powerful shift that can elevate your painting and crafting game.
Why You Should Try DIY Gesso
DIY gesso is a great option for any artist who wants to take control of their materials and customize their process. I’ve found that using it not only saves money but also gives me the ability to tailor the texture and opacity exactly as I need. It’s a small but powerful shift that can improve your painting and crafting game.
Another reason to try DIY gesso is the ability to avoid the harsh chemicals and preservatives found in many commercial products. I’ve noticed that some store-bought gessos can have a strong chemical smell that lingers on my hands and tools, which isn’t ideal for long painting sessions. Making my own lets me use natural ingredients that are safe for me and the environment.
🧼 Sensitive Skin Formula
A hypoallergenic mix using natural binders and no harsh fillers for those with sensitive skin.
💰 Budget-Friendly Version
A low-cost option using easily available ingredients like white glue and chalk.
🧹 Minimalist Approach
A simple mix with just two ingredients for those who want a quick and easy solution.
🎨 Targeted Texture
A version with added fillers for specific textures like grit or smoothness.
🛠️ Maintenance Mix
A long-lasting, durable gesso that’s perfect for frequent use and storage.
| The mistake | Why it happens | The fix |
|---|---|---|
| Adding too much water to the mixture. | Too much water can cause the gesso to become runny and lose its effectiveness. | Add water gradually and only use as much as needed to achieve the desired consistency. |
| Using the wrong type of binder. | Some binders can affect the texture and adhesion of the gesso, leading to uneven results. | Stick to natural binders like white glue or acrylic medium for the best results. |
| Skipping the drying time between layers. | Applying another layer before the previous one is fully dry can lead to a cracked or uneven surface. | Always allow each layer to dry completely before applying the next one. |
| Not storing the gesso properly. | Improper storage can cause the gesso to dry out or become unusable. | Store it in an airtight container and keep it in a cool, dry place. |
Diy Gesso Recipe
Common Questions
Can I use my DIY gesso on any surface?
How long does DIY gesso last once it’s made?
Is DIY gesso as effective as store-bought gesso?
Can I mix different types of binders in my DIY gesso?
Cite this guide
DIY Bath Bomb Recipes (2026). Diy Gesso Recipe. https://soakcraft.com/diy-gesso-recipe/
Feel free to cite or share this guide.
References
- mmds_spell.txt - CDC (ftp.cdc.gov)
- CENTER38 - National Gallery of Art (nga.gov)
- Materials Science in Art, Archaeology, and Art Conservation (par.nsf.gov)
- Sheet2 - NYC Board of Education Retirement System (bers.nyc.gov)
- ed 263 556 author - ERIC (files.eric.ed.gov)