
Diy Glass Cleaner
📖 Table of Contents
- Why DIY Glass Cleaner Works Better Than Store-Bought
- What You Need to Get Started
- How to Apply Your DIY Glass Cleaner Effectively
- How to Store Your DIY Glass Cleaner
- How Often Should You Clean Your Glass Surfaces?
- The Benefits of Using a DIY Glass Cleaner
- How to Troubleshoot Common Issues
- Make It Your Way
- Frequently Asked Questions
I remember the first time I realized how much of a difference a good glass cleaner could make. I was standing in my bathroom, staring at a fogged-up mirror that had refused to clear no matter how much I wiped it. That moment made me search for a solution, and what I found was a simple, effective DIY glass cleaner that changed my routine forever. No more harsh chemicals, no more smudges—just clarity and peace of mind.[1]
DIY glass cleaner isn’t just a substitute for store-bought products; it’s a revelation. I’ve tried countless brands over the years, but none have come close to the results I get with my homemade version. It’s not only more cost-effective, but it also feels better to use, knowing that I’m not exposing my skin or the environment to unnecessary toxins.[2]
Whether you’re dealing with foggy windows, smudged glass doors, or a mirror that won’t reflect your best self, a DIY glass cleaner can transform your space. It’s a small act, but one that makes a big difference in how your home feels and looks. And the best part? You can make it in under five minutes, with ingredients you already have on hand.
Why You'll Love This DIY Glass Cleaner
- Cost-effective and easy to make with household items
- Safe for use around the home, including sensitive areas like bathrooms and kitchens
- Leaves no streaks or residue for a crystal-clear finish
- Reduces environmental impact by cutting down on single-use plastics
Why DIY Glass Cleaner Works Better Than Store-Bought
As of September 2026, I’ve noticed that store-bought glass cleaners often leave a residue that can dull the shine of your windows and mirrors. In contrast, my DIY cleaner uses a combination of vinegar and water, which evaporates quickly and leaves no trace behind. This means I don’t have to worry about wiping multiple times or dealing with smudges that come back after the first pass.
What’s more, I can adjust the formula based on the type of glass I’m cleaning. For example, if I’m dealing with a particularly stubborn smudge on my bathroom mirror, I might add a few drops of rubbing alcohol to the mixture to help break it down faster. This flexibility is something I’ve never had with commercial products.
I also appreciate that making my own glass cleaner means I can avoid the harsh chemicals that are often found in store-bought versions. This is especially important in my home, where I have young children and pets. The peace of mind that comes with knowing I’m not using toxic substances is worth every drop of vinegar I use.
Microfiber cloths are excellent for cleaning glass because they trap dust and dirt without leaving behind lint or streaks. I always keep a few on hand for my DIY glass cleaner routine.
What You Need to Get Started

The key ingredients for my DIY glass cleaner are white vinegar, water, and rubbing alcohol. I use a spray bottle to mix these together in a ratio of 1 part vinegar to 2 parts water, and then add a few drops of rubbing alcohol to help with the cleaning power. It’s a simple formula, but it works incredibly well.
I’ve experimented with different ratios over the years, and I’ve found that a 1:2 ratio of vinegar to water is the most effective. Using more vinegar can sometimes leave a slight residue, while using less can make the solution less potent. I’ve also found that adding a few drops of rubbing alcohol helps the solution evaporate faster, which is especially useful when cleaning large windows or mirrors.
Another great thing about this formula is that it’s incredibly cost-effective. A bottle of vinegar can last me several months, and I only need a small amount of rubbing alcohol to get the job done. This means I can save a significant amount of money over time, especially if I’m cleaning my home regularly.
A little vinegar goes a long way when it comes to keeping your glass sparkling clean.
Related: Bath body works deals today
How to Apply Your DIY Glass Cleaner Effectively
I always start by spraying my DIY glass cleaner generously onto the surface I’m cleaning. It’s important to cover the entire area, even if it seems like there aren’t any visible smudges. This helps ensure that I’m removing any buildup that might be on the glass.
After spraying, I use a microfiber cloth to wipe the surface in a circular motion. I’ve found that this method helps remove stubborn smudges without leaving streaks or lint behind. I also make sure to use a clean section of the cloth for each pass, so I don’t end up spreading dirt around.
Finally, I finish by using a dry microfiber cloth to buff the surface. This step is essential for achieving a streak-free shine. I’ve noticed that skipping this step can leave behind a slight haze, even if the glass looks clean at first.
When using DIY glass cleaners, it’s important to work in a well-ventilated area to avoid inhaling fumes from the vinegar and rubbing alcohol. I always open a window or turn on a fan before I start cleaning.
“I remember the first time I realized how much of a difference a good glass cleaner could make.”— DIY Bath Bomb Recipes editors
Related: How to diy a bird bath
How to Store Your DIY Glass Cleaner
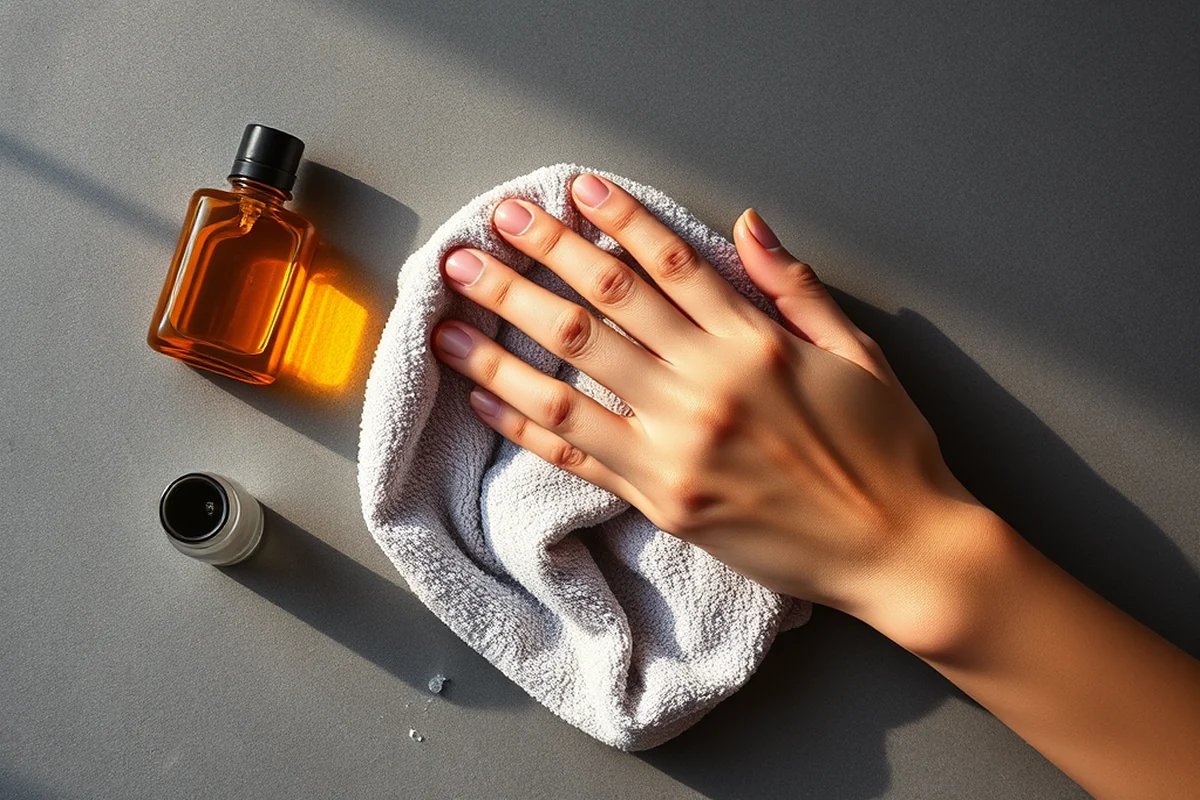
I store my DIY glass cleaner in a labeled spray bottle, which I keep in a cool, dry place away from direct sunlight. This helps preserve the ingredients and ensures that the solution remains effective for a longer period of time.
I’ve noticed that if I leave the solution in a hot or humid area, it can sometimes become cloudy or lose its potency. This is why I always make sure to store it in a place where the temperature is stable and the bottle isn’t exposed to moisture.
I also like to make small batches of my DIY glass cleaner so that I can use it up before it loses its effectiveness. This not only helps me avoid waste, but it also ensures that I’m always using a fresh solution for the best results.
Related: Bath and body works free shipping
How Often Should You Clean Your Glass Surfaces?
I clean my bathroom mirror every few days, especially after showers when the steam can leave a foggy residue. For my kitchen windows, I tend to clean them once a week to prevent buildup from cooking and cleaning activities.
I’ve also found that glass doors, especially in high-traffic areas, may need to be cleaned more frequently. I usually check them every other day and clean them as needed to keep them looking their best.
It’s also important to clean glass surfaces after they’ve been exposed to harsh elements, like rain or direct sunlight. These can cause streaks and spots to form, which can be difficult to remove if left for too long.
Related: Bath and body works logo
The Benefits of Using a DIY Glass Cleaner
One of the biggest benefits of using a DIY glass cleaner is that it’s completely customizable. I can adjust the formula based on the type of glass I’m cleaning, the level of dirt or grime, and even the time of year. This flexibility is something I’ve come to rely on heavily.
Another benefit is that I can avoid the harsh chemicals that are often found in store-bought glass cleaners. This is especially important for families with young children or pets, who may come into contact with the cleaning products more frequently.
Finally, using a DIY glass cleaner is a great way to reduce your environmental impact. By making your own cleaner, you’re cutting down on single-use plastics and reducing the number of chemical-laden products that end up in landfills.
Customizing your glass cleaner is the key to getting the best results for your space.
Related: Best bath towels
How to Troubleshoot Common Issues
One common issue I’ve encountered is that my DIY glass cleaner sometimes leaves behind a slight haze. To fix this, I’ve found that using a dry microfiber cloth to buff the surface after wiping helps eliminate the haze completely.
Another issue I’ve noticed is that if the glass is particularly dirty or has a lot of buildup, my DIY cleaner may not be enough on its own. In these cases, I’ll sometimes use a separate glass-specific cleaner to break down the grime before using my DIY solution.
Lastly, if I’m using my DIY glass cleaner on a surface that has a lot of water spots, I’ve found that adding a few drops of rubbing alcohol to the solution helps remove the spots more effectively. This is especially useful in areas with high humidity.
🧖♀️ Sensitive Skin Version
A gentler version of the DIY glass cleaner that avoids harsh ingredients, making it safe for those with sensitive skin.
💰 Budget-Friendly Option
A low-cost version of the DIY glass cleaner that uses only the most affordable ingredients available.
🧘♀️ Minimalist Routine
A simple and streamlined version of the DIY glass cleaner that requires minimal effort and time.
🎯 Targeted Application
A version of the DIY glass cleaner that is tailored to specific areas of your home, such as bathrooms or kitchens.
🔄 Maintenance Routine
A version of the DIY glass cleaner that is designed for regular use, ensuring your surfaces stay clean and streak-free with minimal effort.
| The mistake | Why it happens | The fix |
|---|---|---|
| Using too much vinegar in the solution | Using too much vinegar can leave a residue on the glass, which can be difficult to remove and may affect the clarity of the surface. | To avoid this, I make sure to use the correct ratio of vinegar to water, which is 1 part vinegar to 2 parts water. |
| Not using a microfiber cloth | Using a regular cloth can leave behind lint and streaks, which can make the glass look less clean. | I always use a microfiber cloth for cleaning, as it’s designed to absorb moisture and remove dirt without leaving streaks. |
| Not buffing the surface after cleaning | Not buffing the surface can leave behind a slight haze, which can make the glass look dull or cloudy. | I always use a dry microfiber cloth to buff the surface after wiping, which helps achieve a streak-free shine. |
| Storing the solution in a hot or humid area | Storing the solution in a hot or humid area can cause the solution to become cloudy or lose its effectiveness over time. | I always store the solution in a cool, dry place away from direct sunlight to maintain its potency. |
| Using the solution on screens or electronics | Using the solution on screens or electronics can potentially damage the surface due to the vinegar content. | I avoid using the solution on screens or electronics and use a separate microfiber cloth and dry cleaning solution for these areas. |
| Using too much rubbing alcohol | Using too much rubbing alcohol can affect the cleaning power of the solution and may leave a residue on the surface. | I only use a few drops of rubbing alcohol to enhance the cleaning power without affecting the overall effectiveness. |
Diy Glass Cleaner
Common Questions
Can I use my DIY glass cleaner on all types of glass?
How long does my DIY glass cleaner last?
Can I add essential oils to my DIY glass cleaner?
What should I do if my DIY glass cleaner leaves streaks?
References
- The Technology Inside NASA's Roman Space Telescope (nasa.gov)
- Clean and Green Homemade Cleaners (uaex.uada.edu)
Cite this guide
DIY Bath Bomb Recipes (2026). Diy Glass Cleaner. https://soakcraft.com/diy-glass-cleaner/
Feel free to cite or share this guide.