
Diy Toilet Bowl Cleaner
📖 Table of Contents
- What Makes a Good Toilet Bowl Cleaner?
- How to Make a Basic DIY Toilet Bowl Cleaner
- Why Choose DIY Over Store-Bought?
- Customizing Your DIY Toilet Bowl Cleaner
- Using Your DIY Cleaner Effectively
- Keeping Your Bathroom Clean on a Regular Basis
- What to Do If Your Cleaner Isn’t Working
- Make It Your Way
- Frequently Asked Questions
I remember the first time I realized how much of a difference a good toilet bowl cleaner could make in my daily routine. It wasn’t just about cleaning — it was about how the bathroom felt after, how fresh the air was, and how much more confident I felt using it. That moment stuck with me, and I started researching DIY options that didn’t just work but also felt safe and gentle on the environment. Over time, I discovered that creating your own toilet bowl cleaner was not only possible but also an empowering way to take control of your home's hygiene.
DIY toilet bowl cleaner became more than a curiosity — it became a staple in my self-care and home maintenance routine. I no longer had to rely on harsh chemicals that left behind a lingering smell or made me feel uneasy about what I was using. Instead, I turned to ingredients I could source locally, often from the same stores where I bought my skincare products. This shift didn’t just improve the cleanliness of my bathroom; it also gave me a sense of peace knowing exactly what was in the products I used.[1]
What I’ve learned through trial and error is that a good DIY toilet bowl cleaner requires more than just a few simple ingredients. It requires understanding the right balance of effectiveness and safety, and knowing how to apply it for the best results. Whether you’re new to DIY cleaning or a seasoned enthusiast, this guide is designed to help you create a cleaner, fresher. More confident experience in your bathroom — all while using a DIY toilet bowl cleaner that you can trust.
Why You'll Love This DIY Toilet Bowl Cleaner
- Safe for septic systems and sensitive skin
- Cost-effective, with no harsh chemicals or synthetic fragrances
- Leaves your bathroom smelling fresh and natural
- Easy to make and apply with everyday household items
What Makes a Good Toilet Bowl Cleaner?
As of September 2026, when I first started experimenting with DIY cleaners, I was surprised at how many products on the market contained chemicals that I didn’t recognize or feel comfortable using. That’s why I turned to natural ingredients like vinegar, baking soda, and citric acid, all of which are safe, affordable, and effective.
The key is to find a balance between strength and gentleness. A cleaner that’s too harsh can damage surfaces or clog pipes, while one that’s too mild may not do the job. Through testing different combinations, I learned that a mixture of white vinegar and baking soda was particularly effective for removing limescale and mild stains.
Another important factor is the scent. I wanted something that smelled fresh without being overpowering. Essential oils like lavender or eucalyptus added a pleasant aroma that lasted for hours, and they also had antibacterial properties that made the cleaner more effective.
Sprinkle baking soda directly into the toilet bowl and let it sit for a few minutes before scrubbing with a brush. It helps lift stains and makes the cleaning process easier.
How to Make a Basic DIY Toilet Bowl Cleaner
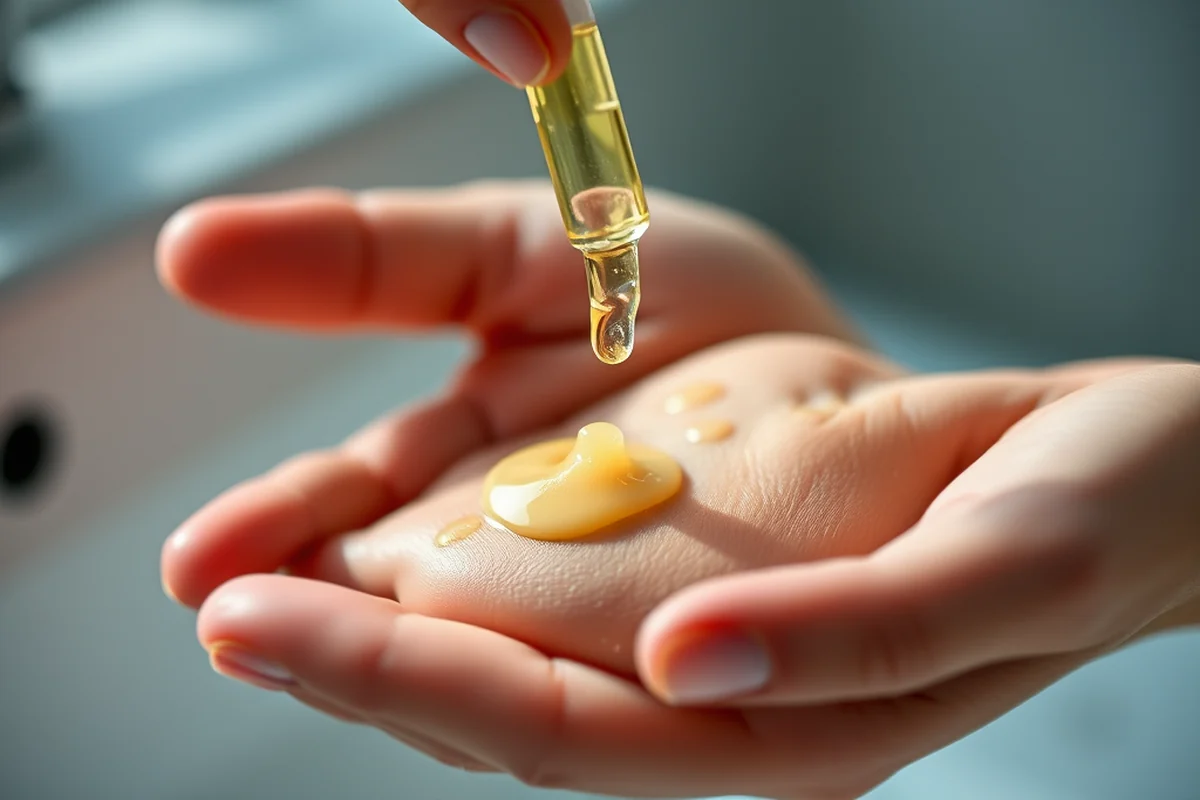
The basic formula I use involves mixing white vinegar with baking soda to create a foaming action that helps break down grime and stains. I often add a few drops of essential oil to give the cleaner a pleasant scent and additional cleaning power.
I start by pouring about a cup of white vinegar into the toilet bowl, followed by a couple of tablespoons of baking soda. The mixture starts to fizz immediately, which is a good sign that the cleaning process has begun. I let it sit for about 15 minutes before scrubbing the bowl with a toilet brush.[2]
This method works well for light to moderate stains. For tougher stains, I sometimes add a small amount of citric acid or use a scrub brush made of natural fibers to increase the cleaning power.
A little bit of vinegar and baking soda can work wonders in the most stubborn of places.
Related: Diy bathroom in basement
Why Choose DIY Over Store-Bought?
One of the biggest advantages of making your own toilet bowl cleaner is the control it gives you over the ingredients. I can choose natural, non-toxic alternatives that are safe for my family and pets, which is a major concern when using commercial products that often contain harsh chemicals.
DIY cleaners are also more affordable in the long run. A single bottle of commercial cleaner can be expensive, especially if you use it regularly. With a DIY option, I can reuse ingredients like vinegar and baking soda multiple times, which saves money over time.
Also, making your own cleaner is better for the environment. Many commercial cleaners come in plastic bottles that contribute to waste. By using a DIY method, I can reduce my plastic consumption and create a more sustainable cleaning routine.
Keep your ingredients like vinegar, baking soda, and essential oils in mason jars to keep them organized and easily accessible. This also helps reduce plastic waste and keeps your bathroom looking tidy.
“I remember the first time I realized how much of a difference a good toilet bowl cleaner could make in my daily routine.”— DIY Bath Bomb Recipes editors
Related: How to diy bathroom remodel
Customizing Your DIY Toilet Bowl Cleaner
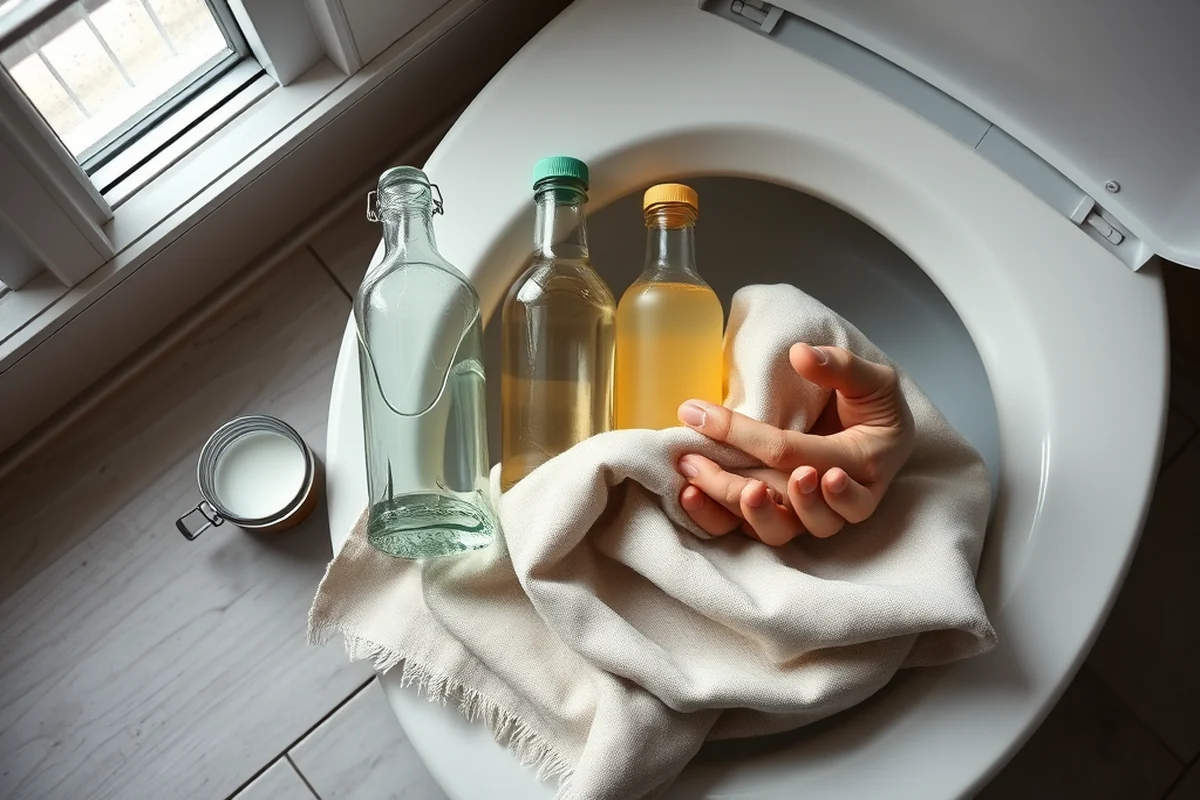
I often adjust the ratio of vinegar to baking soda based on the level of staining in my toilet. For example, if I have a heavily stained bowl, I might use more baking soda and let the mixture sit for a longer period.
Another way to customize is by adding different essential oils. Some people prefer the fresh, uplifting scent of lemon, while others enjoy the calming aroma of lavender. I like to experiment with different combinations to find what works best for my bathroom’s ambiance.
If you have sensitive skin or are using the cleaner in a home with young children, it’s a good idea to avoid strong fragrances. I’ve found that using unscented baking soda and a small amount of a mild essential oil like chamomile can create a gentle yet effective cleaner.
Related: How to diy bathroom cabinets
Using Your DIY Cleaner Effectively
I always make sure to scrub the toilet bowl thoroughly after applying the cleaner. I use a soft-bristled brush and move in circular motions to loosen any grime or stains. This step is crucial for ensuring that the cleaner does its job properly.
After scrubbing, I flush the toilet to rinse away the cleaner and any loosened debris. I repeat this process if needed, especially if there are stubborn stains that didn’t come off the first time around.
It’s also important to clean the toilet seat and the area around the bowl regularly. I use a cloth soaked in vinegar water to wipe down these surfaces, which helps maintain a clean and hygienic bathroom environment.
Related: How to diy bathroom wall tiles
Keeping Your Bathroom Clean on a Regular Basis
I try to clean my toilet bowl at least once a week to prevent stains from building up. This helps reduce the need for more aggressive cleaning in the future and keeps the bathroom looking presentable.
I also make sure to clean the toilet seat and the surrounding area regularly. This includes wiping down the outside of the bowl, the tank, and the base of the toilet. These areas can accumulate dirt and grime over time, especially in high-traffic bathrooms.
To keep things fresh, I like to add a few drops of essential oil to the water in the toilet bowl. Not only does this create a pleasant scent, but it also helps inhibit the growth of bacteria and other germs.
Consistency is key when it comes to maintaining a clean and healthy bathroom.
Related: Can i make bathroom under stairs
What to Do If Your Cleaner Isn’t Working
One of the most common reasons my DIY cleaner didn’t work was because I used too little baking soda. I learned through trial and error that a generous amount is necessary to create the right chemical reaction with the vinegar.
Another issue I encountered was using the wrong type of vinegar. I found that white vinegar was more effective than apple cider vinegar, which didn’t break down stains as well.
Sometimes, I didn’t wait long enough for the cleaner to take effect. I’ve learned that letting the mixture sit for at least 15 to 20 minutes gives it enough time to work its magic, even on stubborn stains.[3]
🌸 Sensitive Skin
For those with sensitive skin, this variation uses only unscented ingredients and avoids harsh chemicals to ensure a gentle yet effective cleaning experience.
💰 Budget-Friendly
This version uses the most affordable ingredients available, such as vinegar and baking soda, to create an effective cleaner without breaking the bank.
🧘 Minimalist
This minimalist approach uses only a few ingredients to keep the process simple and focused on the essentials, with no unnecessary additions.
🎯 Targeted Cleaning
This variation focuses on specific problem areas, such as rust or limescale, by using concentrated ingredients to tackle tough stains efficiently.
🔄 Maintenance Routine
Designed for daily use, this version uses a diluted formula that’s less abrasive but still effective for keeping your toilet bowl clean and fresh.
| The mistake | Why it happens | The fix |
|---|---|---|
| Using the wrong type of vinegar | Apple cider vinegar is less effective for removing stains and limescale compared to white vinegar. | Always use white vinegar for the best results when making a DIY toilet bowl cleaner. |
| Not letting the cleaner sit long enough | The cleaner needs time to work its magic on stubborn stains and buildup. | Let the cleaner sit for at least 15 to 20 minutes before scrubbing to allow it to take effect. |
| Using strong essential oils that irritate the skin | Some essential oils can be irritating, especially to those with sensitive skin or in homes with young children. | Use mild essential oils like lavender or chamomile and dilute them properly to avoid any irritation. |
Diy Toilet Bowl Cleaner
Common Questions
Can I use apple cider vinegar instead of white vinegar?
How long should I wait before scrubbing?
Is it safe to use this cleaner in a septic tank?
Can I use this cleaner in a bidet or urinal?
References
- Chemistry Around the House - ERIC - Department of Education (files.eric.ed.gov)
- For Small Treated and Untreated Public Water Systems in Alaska (dec.alaska.gov)
- Less Than Exciting Behaviors Associated With Unneutered Male ... (flowermound.gov)
Cite this guide
DIY Bath Bomb Recipes (2026). Diy Toilet Bowl Cleaner. https://soakcraft.com/diy-toilet-bowl-cleaner/
Feel free to cite or share this guide.