
Diy Bird Bath
📖 Table of Contents
- Choosing the Right Materials for Your DIY Bird Bath
- Designing the Perfect Shape and Size
- Adding a Natural Touch with Plants and Decor
- Creating a Water Source That Stays Fresh
- Personalizing Your Bird Bath with Color and Texture
- Encouraging Birds to Use Your Bird Bath
- Maintaining Your DIY Bird Bath Over Time
- Make It Your Way
- Frequently Asked Questions
I still remember the first time I created my own DIY bird bath in my backyard — the way the sunlight caught the smooth surface. The gentle trickle of water as the birds landed to drink and splash. It wasn’t just about creating a space for wildlife; it was about crafting a moment of peace and connection with nature. The DIY bird bath became a quiet sanctuary where I could sit and watch the world go by, birds flitting about and the water glistening in the morning light. It was a simple act of creativity, but it made such a lasting impact on my everyday life.[1]
DIY bird baths are more than just a project — they’re a way to bring beauty into your outdoor space and create a habitat that supports local wildlife. Unlike store-bought options, which can feel generic or impersonal, a DIY bird bath allows you to design something that truly reflects your personal style and the unique needs of your garden. I’ve made several versions over the years, and each one has evolved with my understanding of the birds that visit and the materials that work best in my climate.
The process of making a DIY bird bath is rewarding in a way that’s hard to describe unless you’ve done it yourself. You get to choose the shape, size, and texture of the bath, and you can customize it with colors and finishes that make it stand out in your yard. It’s a project that blends artistry with practicality. It’s one that I’ve come to appreciate more and more as I’ve seen the birds return to my garden time and time again. It’s not just a bird bath — it’s a personal statement of care for nature and a celebration of creativity in everyday life.
Why You'll Love This DIY Bird Bath
- Supports local bird populations by creating a safe and inviting space for them to drink and bathe
- Adds a unique aesthetic to your garden that reflects your personal style
- Encourages mindfulness and connection with nature
- Provides a sense of accomplishment and pride in creating something with your own hands
Choosing the Right Materials for Your DIY Bird Bath
As of September 2026, I’ve learned through trial and error that not all materials are suitable for a DIY bird bath. For example, I once used a piece of plastic from an old garden bench, but it cracked after the first winter. I now use either concrete or stone, both of which are durable and offer a natural look that blends well with most gardens.
Concrete is a popular choice because it’s easy to shape and can be colored or painted to match your outdoor decor. I like to mix in some small pebbles or sand to give it texture, which also makes it more inviting for birds.
Stone is another great option, but it can be more difficult to work with if you’re not experienced. I’ve found that using a pre-formed stone mold and then smoothing the edges with a chisel gives the best results. Both materials need to be sealed properly to protect them from the elements.
Use a high-quality waterproof sealant specifically designed for outdoor use. I recommend applying it in thin, even layers and allowing each layer to dry completely before adding the next.
Designing the Perfect Shape and Size
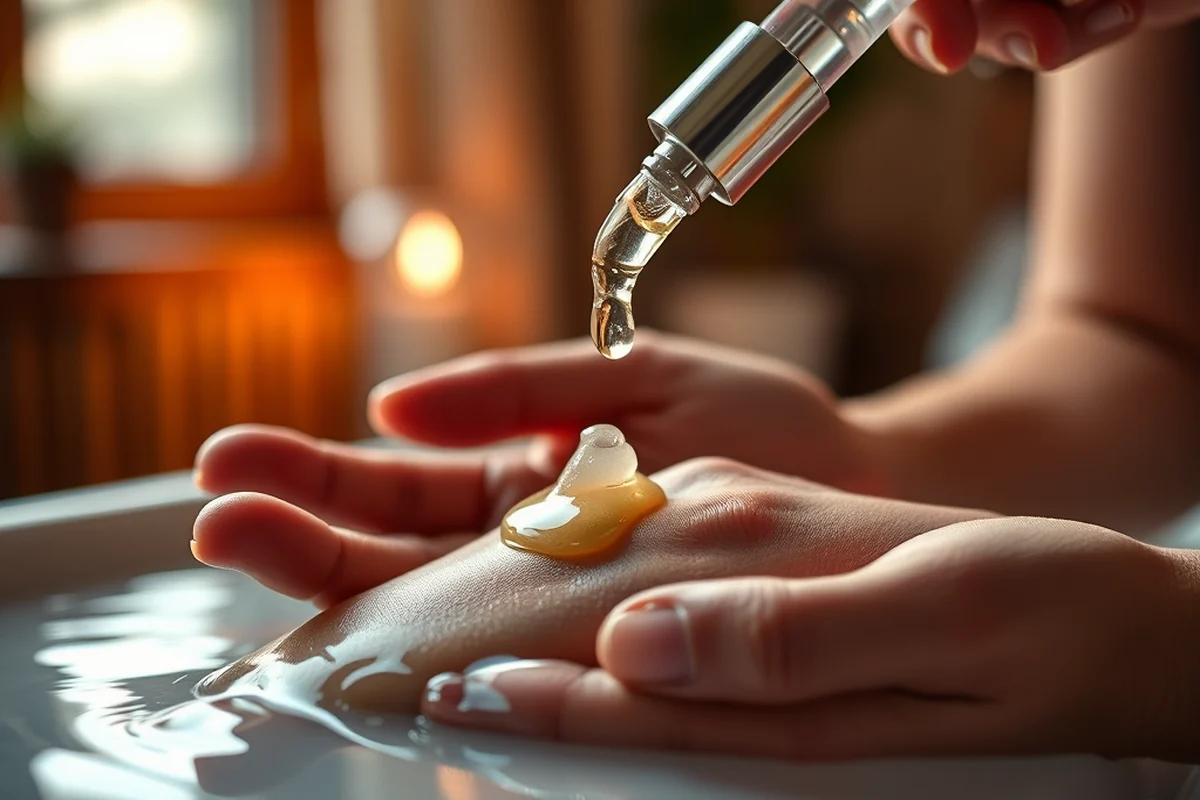
I once made a very shallow bird bath that didn’t hold much water, and the birds didn’t seem to use it as much. After adjusting the depth to about 2 inches, I noticed more activity. Birds need a shallow bath that allows them to stand comfortably and splash without submerging their heads.
I’ve experimented with different shapes, such as circular, rectangular, and even oval, and I’ve found that circular designs are the most popular with birds. They feel more secure in a circular shape, and it’s easier for them to balance.
The size of the bird bath is also important. I recommend making it at least 12 inches in diameter to allow multiple birds to use it at the same time. A larger bird bath can also accommodate a wider variety of bird species.[2]
Design is where your bird bath becomes a living, breathing part of your garden.
Related: Diy bath enamel
Related: Best diy bath salt recipe
Related: Diy bath for shower
Adding a Natural Touch with Plants and Decor
I’ve found that adding native plants around the bird bath attracts more birds, as they’re used to these plants and they provide food and shelter. I plant a mix of flowering and berry-producing plants, which not only look good but also support local wildlife.
Adding a few small rocks or pebbles around the base of the bird bath helps prevent water from pooling and keeps the area more stable. I also use a few small decorative elements like wind chimes or bird feeders to make the space more inviting.
I avoid using too much artificial decor, as it can make the area feel less natural. Instead, I use natural materials like driftwood, stones, and live plants to create a harmonious look that blends with the rest of the garden.
Native plants are not only more attractive to birds but also require less maintenance. They’re adapted to your local climate and soil, making them easier to grow and more sustainable in the long run.
“I still remember the first time I created my own DIY bird bath in my backyard — the way the sunlight caught the smooth surface…”— DIY Bath Bomb Recipes editors
Related: Best diy bath bomb recipe
Related: Diy bath panel ideas on a budget
Related: Diy eczema bath bomb
Creating a Water Source That Stays Fresh

I learned the hard way that stagnant water can be a health hazard for birds and can deter them from using the bath. I now make it a point to refill the water every few days and clean the bath with a mild soap and water solution.
I’ve tried using a small pump to keep the water moving, but it can be expensive and sometimes fails in the rain. Instead, I use a shallow dish and fill it with fresh water every two days, which seems to work just as well.
Keeping the area around the bird bath clean is also important. I use a soft brush to remove any debris or algae that accumulates, and I avoid using harsh chemicals that could be harmful to birds.
Related: Epsom salt bath bomb diy
Related: Diy bathroom sink
Related: Diy bath drain unblocker
Personalizing Your Bird Bath with Color and Texture
I’ve experimented with using different colors and finishes on my bird baths, and I’ve found that soft, earthy tones like browns and greens are the most popular with birds. I’ve also tried using a glossy finish, which makes the bird bath more reflective and adds a touch of elegance.
Texture is also important. I’ve found that a slightly rough surface is more comfortable for birds to perch on and allows them to grip the bath more securely. I often add a layer of sand or small pebbles to the surface for this reason.
I’ve also tried using paint to add patterns or designs to the bird bath, but I’ve learned that it’s important to use a waterproof paint that won’t chip or flake. I now use a spray paint designed for outdoor use, which gives a smooth, even finish.
Related: Natural bath bomb recipe without citric acid
Related: What is the best diy bathroom cleaner
Related: Best diy bath soak
Encouraging Birds to Use Your Bird Bath
I’ve noticed that adding a few small stones or pebbles into the water can help birds feel more comfortable when they use the bath. It also adds some natural texture that looks more inviting.
I’ve also found that placing the bird bath in a location that’s partially shaded and protected from strong winds is more attractive to birds. I now place mine near a group of trees that provide some cover and a sense of security.
Using a shallow dish with a slight slope in the bottom helps birds to stand and splash without getting too wet. I’ve experimented with different slopes and have found that a gentle 10-degree angle works best.
A little care in placement and design can make all the difference in attracting birds to your garden.
Related: Diy bathroom cleaner
Related: Best water softeners for home use
Related: Best diy bath shortener
Maintaining Your DIY Bird Bath Over Time
I’ve learned that even the most beautiful bird bath can fall into disrepair if it’s not maintained regularly. I now make it a habit to check the bird bath every few weeks and clean it with a soft brush and mild soap.
I’ve also found that sealing the bird bath every few months helps to protect it from the elements and prevents it from cracking or deteriorating. I use a waterproof sealant that’s easy to apply and lasts for several months.
I avoid using harsh chemicals or abrasive materials that could damage the bird bath. Instead, I stick to natural cleaning solutions and gentle tools that are safe for both the bird bath and the birds that use it.
🪨 Natural Stone
Use a pre-formed stone mold to create a bird bath that blends seamlessly with your garden.
🧱 Concrete
Mix and shape your own concrete to customize the color and texture of your bird bath.
🟦 Minimalist
Create a simple, clean design that highlights the natural beauty of the materials.
🌈 Colorful
Use waterproof paint to add bold colors and patterns to your bird bath.
🛠️ Maintenance-Free
Choose a bird bath made from durable, low-maintenance materials that require little upkeep.
| The mistake | Why it happens | The fix |
|---|---|---|
| Using the wrong type of sealant | Using a sealant that’s not designed for outdoor use can cause the bird bath to deteriorate quickly and may be harmful to birds. | Use a high-quality, waterproof sealant that’s safe for outdoor use. Apply it in thin, even layers and allow each layer to dry completely. |
| Making the bird bath too deep | A bird bath that’s too deep can be uncomfortable for birds and may deter them from using it. | Keep the depth around 2 inches. This allows birds to stand comfortably and splash without submerging their heads. |
| Ignoring the surrounding area | Neglecting the area around the bird bath can make it less inviting and may discourage birds from visiting. | Add native plants and small rocks around the bird bath to create a natural, inviting space for birds. |
| Using harsh chemicals | Harsh chemicals can be harmful to birds and can damage the bird bath over time. | Use natural cleaning solutions and gentle tools to keep the bird bath clean and safe for birds. |
Diy Bird Bath
Common Questions
What materials are best for a DIY bird bath?
How deep should the bird bath be?
What’s the best way to keep the water clean?
Where should I place my DIY bird bath?
References
- Bird Feeders and Bears - Alaska Department of Fish and Game (adfg.alaska.gov)
- BIRD DAMAGE MANAGEMENT IN OHIO - USDA-Aphis (aphis.usda.gov)
Cite this guide
DIY Bath Bomb Recipes (2026). Diy Bird Bath. https://soakcraft.com/diy-bird-bath/
Feel free to cite or share this guide.