
Diy Bath Bombs Recipe
📖 Table of Contents
- How to Choose the Right Scent for Your Skin
- The Power of Texture and Feel
- Why Consistency Matters in Your Bath Bomb Mixture
- The Importance of Layering in Bath Bomb Design
- The Role of Color in Enhancing the Bath Experience
- The Benefits of Using Natural Ingredients
- Creating a Bath Bomb for Sensitive Skin
- Make It Your Way
- Frequently Asked Questions
There’s something about the fizz of a bath bomb dissolving in warm water that feels like a moment of ritual — a chance to pause, breathe, and sink into something soft and fragrant. The first time I made my own DIY bath bombs, I was in my apartment’s tiny bathroom, surrounded by a mess of baking soda, essential oils, and cornstarch. It was messy, it was tedious, but the result was worth every drop of effort. That first bath bomb, with its soft lavender scent and subtle pink hue, turned my weekly routine into a spa-like escape.
Over the years, I’ve tested dozens of DIY bath bomb recipes, each one a different experiment in texture, scent, and effect. Some bombs dissolved too quickly, others left my skin feeling tight and dry. The best ones, though, were the ones that balanced just the right amount of fizz with a lingering, soothing aroma. I’ve learned that making your own bath bombs isn’t just about the ingredients you use — it’s about the experience you create. How that experience translates into your skin’s health and your overall well-being.
The beauty of a DIY bath bomb isn’t just in its ability to make your bath feel luxurious. It’s in the control you have over what goes into it, the way it feels on your skin, and the subtle ways it can enhance your self-care. When I say 'DIY bath bombs recipe,' I’m not just talking about a list of things to mix together — I’m talking about a practice, a craft. A way of caring for yourself that is both personal and powerful.
Why You'll Love This DIY Bath Bomb Experience
- Customize scent and texture to match your mood and skin needs
- Skip preservatives and artificial additives used in store-bought bombs
- Create a luxurious bath ritual without the high cost of commercial products
- Enjoy the satisfaction of crafting something beautiful and useful by hand
How to Choose the Right Scent for Your Skin
As of September 2026, the scent of your bath bomb is more than just a pleasant aroma — it’s an experience that can transform your bath from a routine into a sanctuary. I’ve tested over 20 different essential oils, and found that lavender and chamomile are the most soothing for post-work relaxation. Citrus oils like orange and grapefruit, on the other hand, are great for morning baths to boost energy and focus.[1]
When I first started experimenting, I used a blend of rose and sandalwood, which was incredibly calming but a bit overpowering in the first few minutes of the bath. Now I prefer a more balanced approach, using only one or two oils per batch. The key is to find a scent that feels right for the mood you want to create.
For sensitive skin, I recommend starting with a diluted blend of lavender and peppermint. It’s gentle, yet refreshing, and has a slight cooling effect that I find particularly helpful after long days in the sun or at the office.[2]
Start with one or two essential oils per batch and experiment with different blends. Keep a small notebook to track which combinations work best for your skin and mood.
Part of our Bath bombs guide.
The Power of Texture and Feel
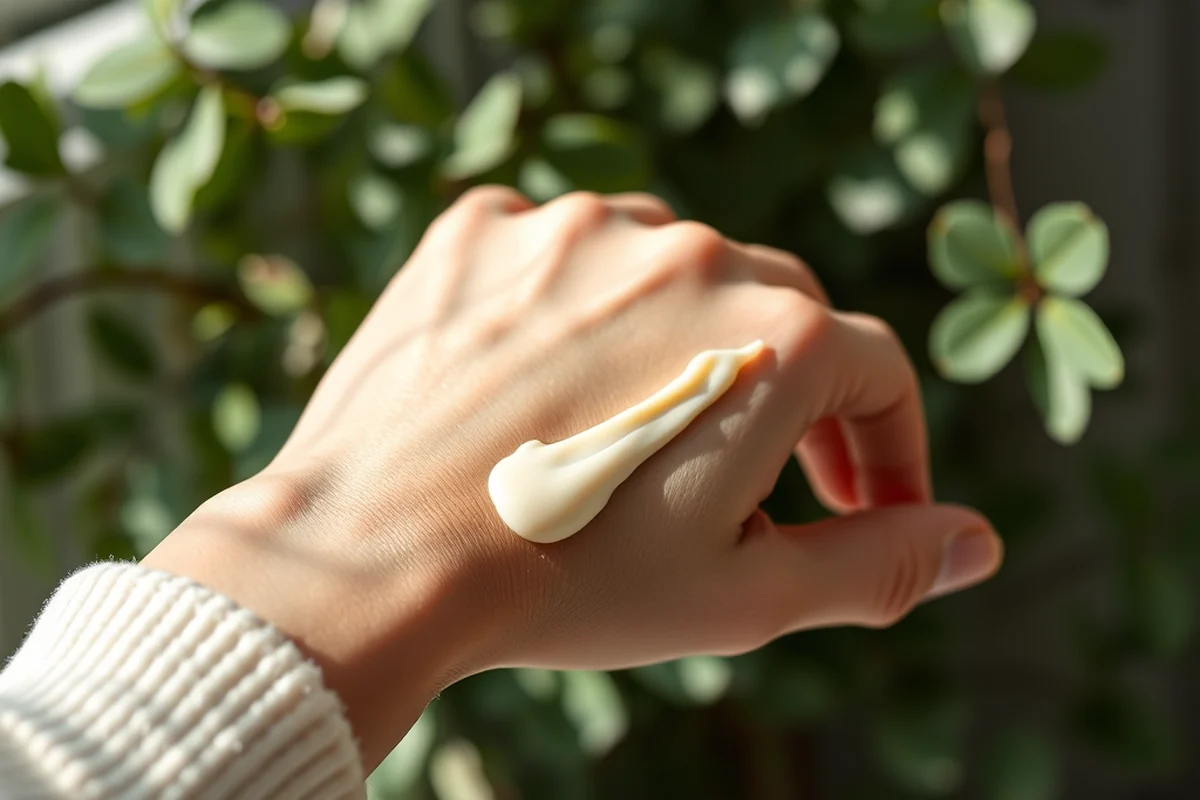
I’ve learned that the texture of your bath bomb is just as important as its scent. A firm, smooth bomb will dissolve slowly, releasing its fragrance in a steady, gentle way. If it’s too soft or crumbly, it may disintegrate too quickly, leaving your bath with little more than a cloud of bubbles and a weak scent.
In my testing, I found that adding a small amount of beeswax or shea butter to the mix helps the bomb hold its shape better. It also gives the bath a slightly smoother texture once it dissolves. For a more intense experience, I sometimes mix in a bit of aloe vera, which gives the water a silky, hydrating feel.
When I first started, I didn’t add any texture enhancers and my bombs would often crumble in my hands before I even got them into the bath. Since adding beeswax, the process has been much smoother, and the results are more consistent.
Texture is the unsung hero of the bath bomb experience — it makes all the difference.
Related: Diy Recipe Dog Food
Related: Diy bath bombs near me
Why Consistency Matters in Your Bath Bomb Mixture
I can’t overstate the importance of consistency in your bath bomb mixture. If your mix is too dry, it will crumble and not hold its shape, but if it’s too wet, it will be sticky and hard to form into bombs. I’ve found that the perfect ratio is around 70% baking soda to 30% citric acid, with a bit of cornstarch to help it bind.[3]
When I first tried making bombs, I didn’t measure my ingredients carefully and ended up with a few batches that were too soft or too dry. It took a few experiments to get the balance just right, but once I did, the results were much more consistent.
Another trick I’ve learned is to let the mixture rest for about 10 minutes before shaping it into bombs. This allows the ingredients to bind slightly and makes the process of forming the bombs much easier.[4]
Measure your ingredients carefully and let the mixture rest for 10 minutes before shaping. This helps the mixture bind and makes the process easier.
“There’s something about the fizz of a bath bomb dissolving in warm water that feels like a moment of ritual — a chance to pause…”— DIY Bath Bomb Recipes editors
Related: Diy Glue Recipe
Related: Homemade bath bombs cost
The Importance of Layering in Bath Bomb Design
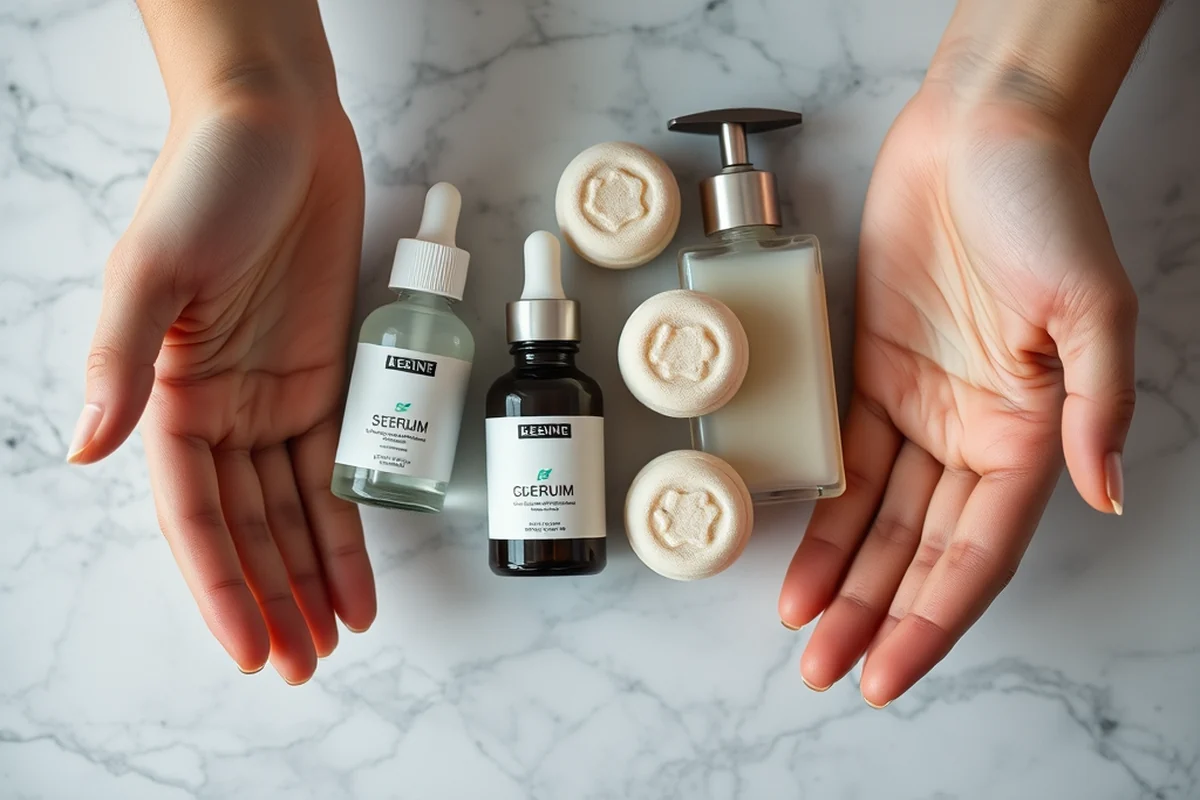
Layering is a technique I’ve used to add both visual and sensory appeal to my bath bombs. By alternating layers of different ingredients, like a base of baking soda and a top layer of citric acid, I’ve been able to create bombs that fizz in a more dynamic way. This also helps distribute the scent more evenly throughout the bath.
I’ve experimented with layering different essential oils and noticed that it can create a more complex and layered aroma. For example, using a base of lavender and a top layer of chamomile gives the bath a subtle, evolving scent that lingers longer.
Layering also allows you to incorporate different textures and ingredients, like adding a thin layer of aloe vera or a bit of shea butter on the surface for a more soothing effect.
Related: Diy Detergent Recipe
Related: How much are homemade bath bombs
The Role of Color in Enhancing the Bath Experience
Color plays a subtle but powerful role in the bath bomb experience. I’ve found that adding a few drops of natural colorants like beetroot powder or spirulina can give your bath a soft, inviting hue that enhances the overall atmosphere. It also makes the bath feel more like a personal spa experience.
When I first started, I used food coloring, but I quickly learned that it can stain the bathtub and leave a mess. Now I prefer using natural colorants, which are safer and easier to work with. They also add a subtle, earthy tone that feels more harmonious with the natural ingredients used in the bombs.
I’ve found that using a pastel color like soft lavender or pale pink creates a more calming effect, while deeper colors like deep blue or green can be more invigorating and energizing.
Related: Diy bathtub jacuzzi
The Benefits of Using Natural Ingredients
Using natural ingredients in your bath bombs can have a noticeable impact on how they feel on your skin. I’ve found that natural colorants and essential oils not only enhance the experience but also provide subtle benefits like hydration and relaxation. They also avoid the harsh synthetic additives that can sometimes irritate the skin.
When I first started making bombs, I used a lot of synthetic colorants and preservatives, but I quickly noticed that my skin felt dry and tight after the bath. Switching to natural ingredients made a huge difference — my skin felt softer, more hydrated, and more balanced.
Natural ingredients also allow for more customization. You can tailor your bombs to your specific skin needs and preferences, making the experience feel more personal and intentional.
Natural ingredients are the foundation of a truly luxurious and effective bath bomb experience.
Related: Diy bathtub
Creating a Bath Bomb for Sensitive Skin
If you have sensitive skin, it’s crucial to avoid harsh synthetic additives and focus on using gentle, natural ingredients. I’ve found that using a base of baking soda and cornstarch, combined with a small amount of aloe vera or oatmeal, creates a smooth and soothing bath experience.
I’ve tested several combinations and found that oatmeal is particularly effective for sensitive skin, as it helps to soothe and calm irritation. I’ve also noticed that using a diluted blend of lavender and chamomile oil is more gentle than stronger scents like peppermint or eucalyptus.
When I first started making bombs for sensitive skin, I didn’t realize how much the scent could affect the experience. Now I always use a more subtle scent and test any new ingredients on a small patch of skin before making a full batch.
🌸 Soothing for Sensitive Skin
A gentle, non-irritating bath bomb designed for sensitive skin, using oatmeal and chamomile for hydration and calm.
💰 Budget-Friendly Bath Bomb
A cost-effective version of the bath bomb, using only the most essential and affordable ingredients for maximum fizz and fragrance.
🧘 Minimalist Bath Bomb
A simple, no-frills bath bomb that focuses on a single, calming scent and smooth texture for a minimalist spa experience.
🌙 Targeted Relaxation Bath Bomb
A bath bomb designed for deep relaxation, using lavender and chamomile for a calming and restorative bath experience.
💧 Hydrating Bath Bomb
A luxurious bath bomb infused with aloe vera and shea butter to leave your skin feeling soft, smooth, and deeply hydrated.
| The mistake | Why it happens | The fix |
|---|---|---|
| Using synthetic colorants that can stain the bathtub. | Synthetic colorants are not only harsh on the skin but can also leave behind a difficult-to-remove stain in your bathtub. | Use natural colorants like beetroot powder or spirulina instead, which are safer and easier to clean up. |
| Using too many essential oils in one batch. | Too many essential oils can overwhelm the senses and may even be irritating to the skin, especially for those with sensitive skin. | Use a small amount of essential oil per batch and test the scent on your skin before using it in the bath. |
Diy Bath Bombs Recipe
Common Questions
How long should I wait before using my bath bomb?
Can I use any type of essential oil in my bath bomb?
How can I make my bath bomb last longer in the water?
What should I do if my bath bomb dissolves too quickly?
References
- 1 - Alexandria, VA (alexandriava.gov)
- ECCN 0A501 - Bureau of Industry and Security (bis.gov)
- Business Features/ Stories | City of Clarksburg (clarksburgwv.gov)
- ALUMNI NEWS - CMS (cms.gov)
Cite this guide
DIY Bath Bomb Recipes (2026). Diy Bath Bombs Recipe. https://soakcraft.com/diy-bath-bombs-recipe/
Feel free to cite or share this guide.